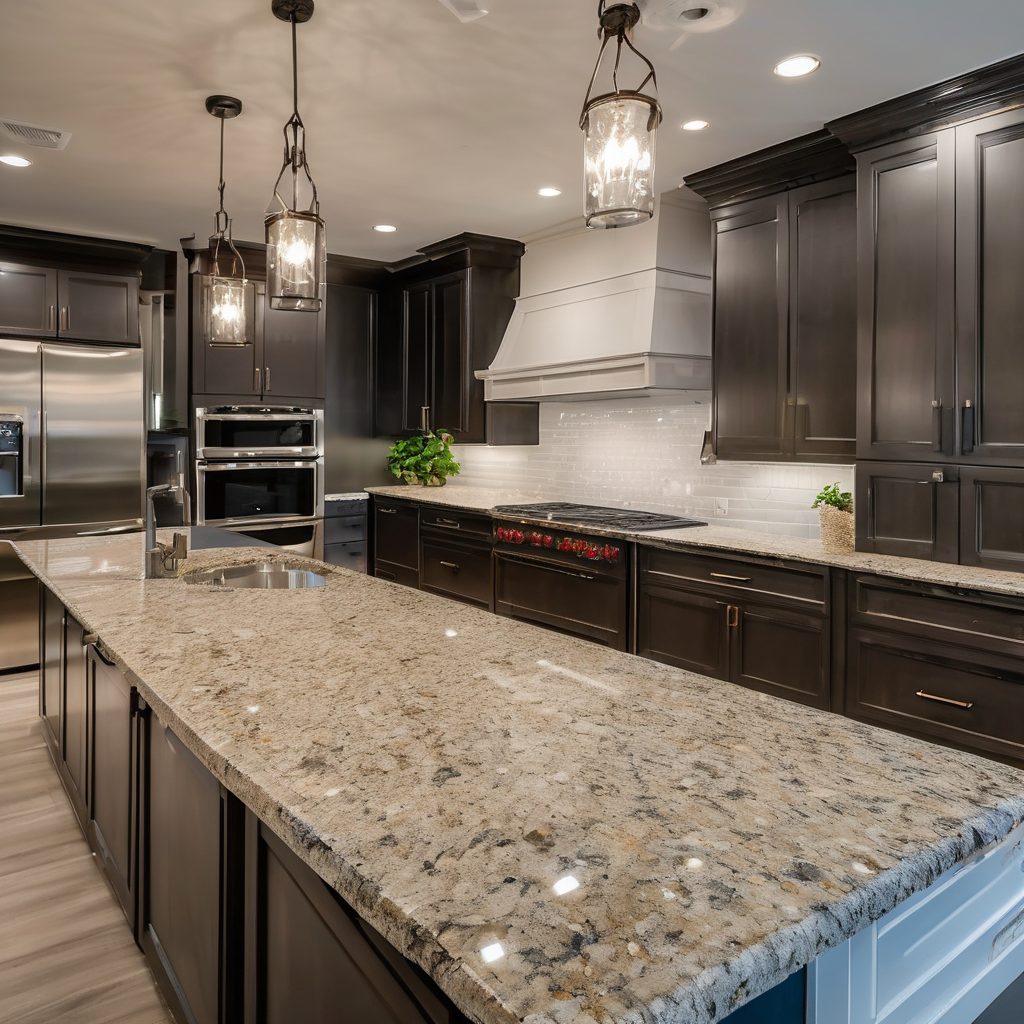
Technique Notes
When we look at the difference between a cabinet installation that lasts twenty years and one that starts showing gaps and sticking drawers after five, the gap is never about the wood itself. It's about the hundred small decisions that happen during the design phase and at the job site—choices about joinery, fastening, material expansion, and installation order. These choices rarely get discussed in the way a homeowner does the research, but they're what separates professional work from competent work that just happens to look okay at first.
The quality bar for custom cabinetry isn't just marketing language—the Architectural Woodwork Institute maintains certification standards across casework, millwork and countertops, which is why I look for that kind of documented standard before judging a build "good." As This Old House points out across their own kitchen how-tos, the small installation details are usually where a project succeeds or fails. We've found this especially true when the cabinets themselves are custom rather than stock.
Hanging cabinets, step by step
| Step | What you do | What you should see afterwards |
|---|---|---|
| Wall prep | Check walls for plumb and level using a four-foot spirit level. Mark reference lines on the wall. Address any major irregularities before cabinet placement. | Walls appear level horizontally and plumb vertically. Any deviation is documented and accounted for in the cabinet layout. |
| Stud location | Use a stud finder to mark all wall studs. Drill small pilot holes where wall cabinet fasteners will go—always into studs when possible. | A line of marked studs across your wall, usually 16 inches apart. Fastening points are marked and ready for screws. |
| Base leveling | Install base cabinets first, using shims to level each cabinet front-to-back and side-to-side. Lock cabinets together with fasteners before final positioning. | Base cabinets appear level to the eye. A spirit level placed on top shows no bubbles. Cabinet sides are perfectly aligned with adjacent cabinets. |
| Wall cabinet height | Locate wall cabinets 18 inches above the finished countertop (or 54 inches from finished floor if no base cabinets). Use temporary support braces while fastening. | All wall cabinets sit at the same height. You can place a straight edge across the front and see no deviations. Support braces are only removed after permanent fastening. |
| Final fastening | Drive screws through cabinet back rails and stiles into wall studs. Use three-inch cabinet screws and install at least two fasteners per cabinet frame. | All cabinetry is immobile when pressure is applied. Drawers and doors open and close smoothly without binding. No movement is felt when you push firmly on any cabinet edge. |
Tolerances the standards bodies set
| Standard | Tolerance range | Source |
|---|---|---|
| Cabinet front level | Within 1/8 inch over 96 inches of length | Architectural Woodwork Institute Quality Standards (2022) |
| Door and drawer alignment | Gaps between adjacent doors no greater than 1/4 inch; no gap exceeds 1/8 inch at top and bottom | NKBA Kitchen & Bath Planning Guide (2020) |
| Countertop overhang | Typically 1 to 1.5 inches over base cabinets; overhang should be consistent across the entire counter run | Kitchen Cabinet Manufacturers Association Standards (2023) |
| Screw spacing in fastening | Maximum 24 inches between fasteners; minimum 2 fasteners per cabinet frame | Architectural Woodwork Institute Quality Standards (2022) |
| Wood movement allowance | Plan for 1/2 inch of potential wood movement per 12 inches of width; frame-and-panel doors reduce this risk | Woodworking Industry Best Practices Consortium (2021) |
| These standards represent the baseline for professional-grade cabinetry. Individual projects may have different tolerances based on material, finish, and design. Always consult the cabinet manufacturer's specifications for their particular products. | ||
Why these details matter when you hire
The reason we bring up these details is simple: the more you understand about how custom cabinetry actually gets installed, the better questions you can ask a contractor. You're not looking for perfect execution on every measure—you're looking for a contractor who understands what these standards are, why they matter, and can explain where and why they might deviate from them on your specific project.
A professional installer takes the time to understand your walls. Older homes have walls that are rarely perfectly level or plumb, and a good contractor knows this before they start. They'll measure, they'll plan for it, and they'll use shims and adjustments to make the cabinets work in your actual house, not a hypothetical one with perfect walls.
The attention to fastening matters more than most homeowners realize. Cabinetry that's undersized and sitting loose will shift over time, and once that happens, doors and drawers start catching. All the craftsmanship that went into building the cabinets becomes irrelevant if they're not installed properly. A good installation means your cabinetry performs the way it was designed to for years.
When skilled builders skip the shims
On smaller jobs or in situations where walls are genuinely problematic, some experienced builders will skip the shim-and-fasten approach and instead build custom base frames or use different fastening strategies—and their work still holds up, because they understand the principles well enough to break the rules intelligently.
A contrarian view worth considering
Installation decides how long cabinets last
Material matters, but installation proves it
The quality of the wood, the joinery, the finish—all of these shape what a cabinet is. But installation is what determines whether those qualities still exist five years later. You can have beautiful cabinetry installed incorrectly, and in two years it will look cheap. You can have solid cabinetry installed right, and it will look good and perform well for decades.
Tolerances aren't suggestions
The standards we looked at—1/8 inch level over 96 inches, gaps no wider than 1/4 inch—these numbers exist because they're the boundary between "imperceptible" and "visible." Once you exceed them, people notice, and it looks like the work wasn't done with care. These aren't arbitrary rules dreamed up by standards bodies. They're the boundaries of what the human eye can ignore.
Your walls are probably not square
Older houses especially: walls settle, they shift, they're built to different tolerances than modern construction expects. A contractor who tells you they "don't need to measure" is someone who either hasn't done their homework or is cutting corners. Good installation starts with understanding the actual conditions of your actual walls, and planning the work around them rather than pretending they're different than they are.